In today’s world, influencers are a major part of marketing strategies. They help brands connect with their audience and promote products in a relatable way. However, hiring influencers can be costly, especially for smaller businesses or individuals looking to grow. That’s where the idea of creating your own AI influencer comes in.
An AI influencer can be fully customized to fit your brand’s needs. You control everything about them, from their appearance to their personality and even the way they interact with followers. In this article, we’ll walk you through the process of building an AI influencer using tools like Midjourney, setting them up on Instagram, and even monetizing their content.
Creating your own AI influencer is not only a fun project but also a smart marketing move. Let’s get started!
Step 1: Naming and Instagram Bio
The first step to making your AI influencer is choosing the right name and writing a catchy Instagram bio. The name is important because it’s the first thing people see when they come across your influencer’s account. You want it to be memorable and easy to spell.
Let’s use o1-mini (latest reasoning model of OpenAI) to create the name – it’s free to use in USnap, so happy to use:
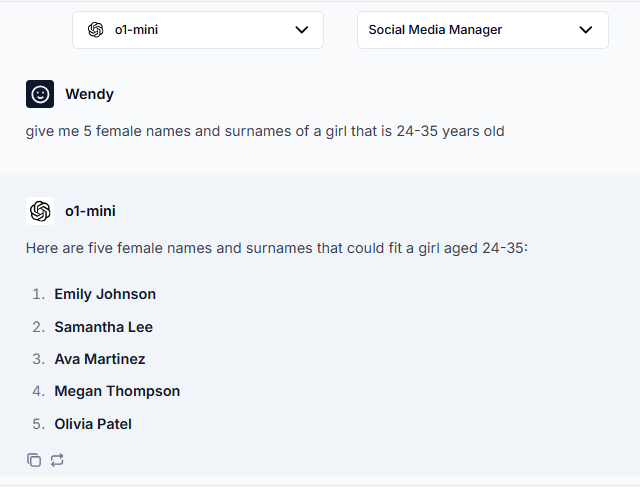
Let’s say our AI influencer is named Megan Roberts. She’s a 23-year-old lifestyle influencer who loves fashion, travel, and healthy living.
A good bio is short but tells a story. It gives followers an idea of who the influencer is, what they’re about, and why they should hit the follow button. Her bio would look like this:

✨ Megan Roberts | 23
🌍 Lifestyle Influencer
👗 Fashion | ✈️ Travel | 🥗 Healthy Living
📸 Capturing moments & inspiring journeys
💌 Collaborations: [your email]
👇 Join me on my adventures!
Step 2: Image Generation with Midjourney
Once you’ve written down the name and bio, it’s time to create some awesome images for your AI influencer. Let’s use Midjourney in this step.
For those who don’t know: What is Midjourney?
Midjourney is an AI tool that creates images based on text descriptions. It’s like a powerful image generator – you describe what you want, and it brings your ideas to life. For example, you might tell Midjourney to create a picture of Megan Roberts wearing a bright yellow sundress on a beach, with a carefree and happy vibe.
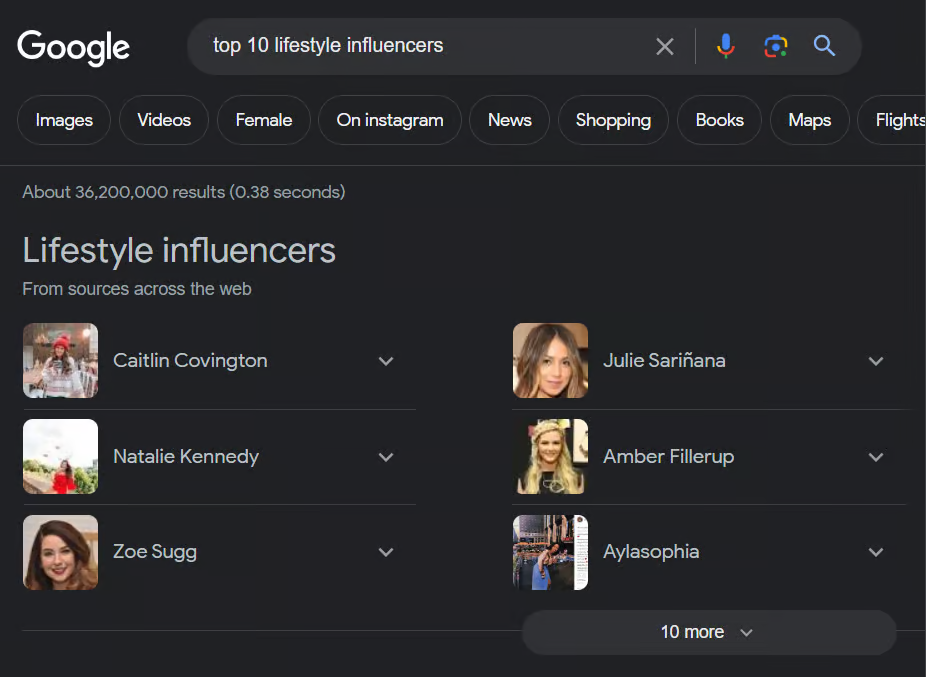
Using Inspiration from Real Influencers
To make your AI influencer look more authentic, it helps to use real influencers as inspiration. Let’s choose someone like Emma Chamberlain, known for her casual, relatable style. You can browse her Instagram and save a few photos that capture her vibe. These will serve as reference images for generating your AI influencer’s posts.
Step 3: Image Description in Midjourney
After gathering inspiration, it’s time to upload the reference images to Midjourney and start generating unique content. Here’s how to do it step by step:
1. Upload Reference Images: Take the saved reference images and upload them to the Midjourney Discord server.
2. Use the /describe Command: Once the image is uploaded, use the /describe command. This will prompt Midjourney to create a text description that captures the image’s main features.
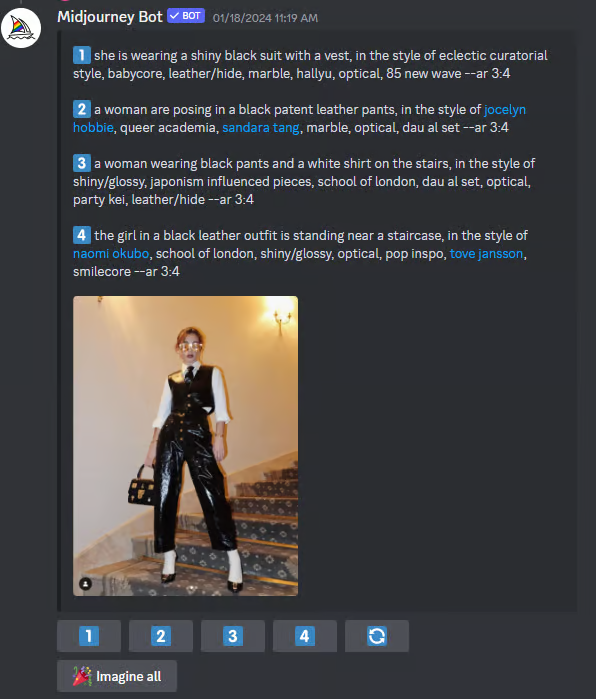
Next, upload reference image: Take one of the saved reference images and upload it to the Midjourney Discord server:
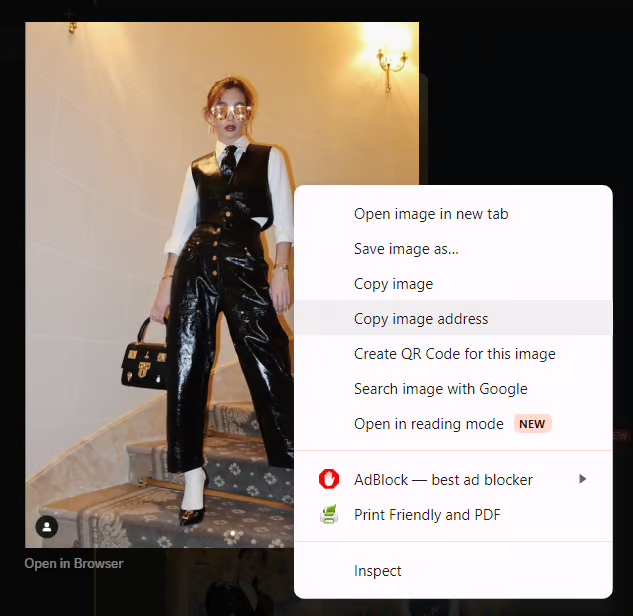
Copy the image link and create a prompt using /image and follow by the image link and the saved words:
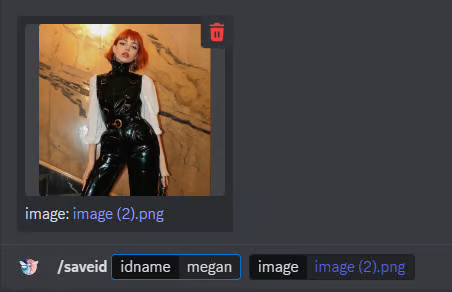
Use the /saveid and /swapid commands to make your character’s face consistent.
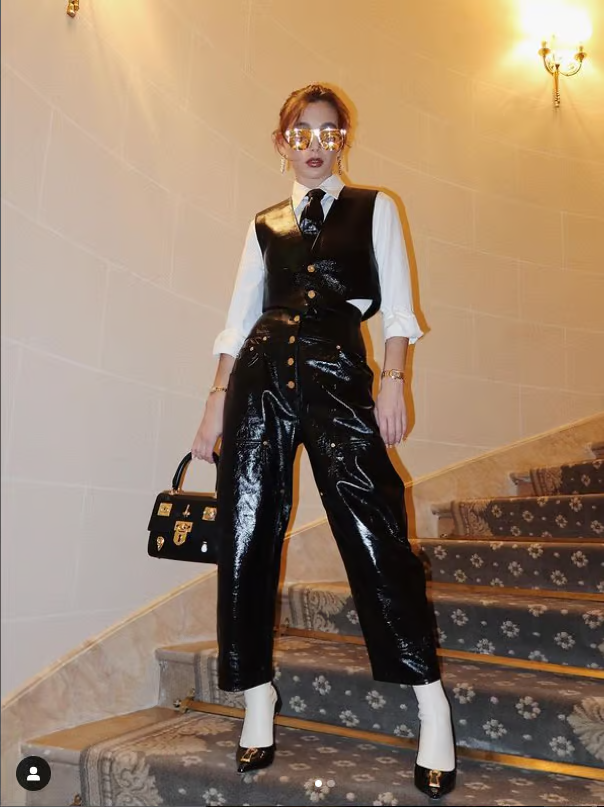
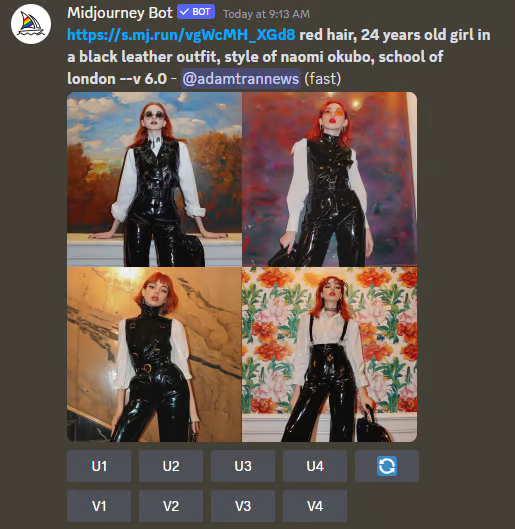
3. Refine the Descriptions: You can tweak these descriptions to match what you want. For example, if you want Megan in a fun and playful outfit, you can write: “Red hair, 24-year-old girl in a black leather outfit, in the style of Naomi Okubo.”
This process allows you to create images that look professional while keeping the character consistent across all your posts. Make sure to save these prompts, as they will help generate similar content in the future.
Step 4: Setting Up an Instagram Account
Now that you have a batch of images ready, it’s time to set up your AI influencer’s Instagram account. Here’s how to do it:
1. Create an Account: Open the Instagram app or visit their website. Sign up using an email or phone number, and choose a username for your AI influencer. Keep the username simple and related to the influencer’s name, like @megan_roberts_lifestyle.
2. Upload AI-Generated Images: Start uploading the images you created with Midjourney. Make sure to edit them if needed and write interesting captions for each post. A good caption could be something like:
“Loving this sunny beach day 🌞 Where’s your favorite summer spot? #BeachVibes #SunnyDays #Lifestyle”
3. Use Hashtags: Hashtags are crucial for increasing visibility. Use popular and relevant ones, but don’t overdo it. Three to five hashtags per post should be enough to attract attention.
4. Engage with Followers: When people comment on Megan’s posts, reply to them! Ask questions, thank them for their input, and keep the conversation going. This builds a sense of community around your AI influencer’s account and helps it grow.
Step 5: AI Video Ad Creation with Runway and Eleven Labs
Next, let’s add some video content to your AI influencer’s account. Videos perform well on Instagram, especially when linked with eye-catching visuals and a relatable voice.
Using Runway for Video Creation
Here’s how you can use it to create a video for Megan Roberts:
1. Upload the AI-generated images to Runway.
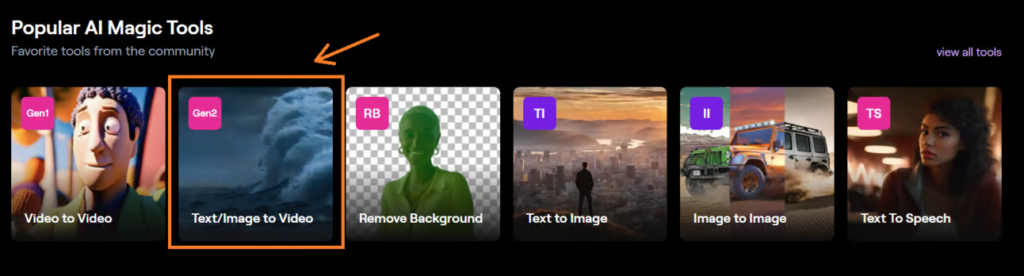
2. Use Runway’s video creation tools to add transitions, effects, and a smooth flow between images.
3. If you want to make the video longer, you can add more scenes or slow down certain parts to highlight specific details.
Creating a Voice with Eleven Labs
To make the video more engaging, we’ll give Megan a voice using Eleven Labs. This tool allows you to create a custom voice by choosing parameters like gender, age, and accent. Try experimenting until you find the perfect voice for your AI influencer.
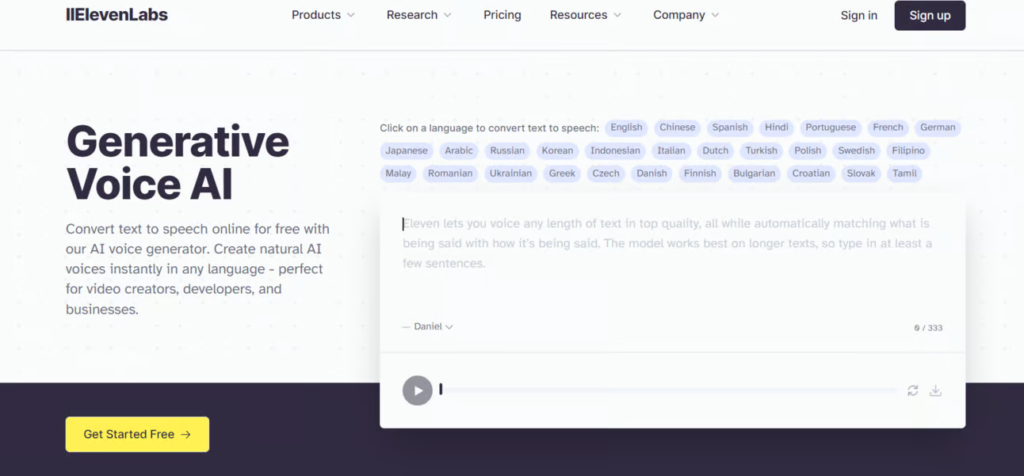
Once the voice is created, you can sync it with the video so that Megan speaks in a way that matches the tone and mood of the visuals. This creates a more dynamic and appealing ad.
Monetize on Fanvue
Now that your AI influencer is up and running, it’s time to talk about how you can make money from the content. Fanvue is a great platform for monetization.
What is Fanvue?
Fanvue allows creators to earn money through subscriptions, tips, and exclusive content. As an AI influencer creator, you can upload content and give followers access to premium posts for a fee. Megan Roberts could offer exclusive fashion tips, behind-the-scenes content, or even personalized messages for her followers.
Maximizing Earnings
Fanvue gives creators flexibility with their pricing and content. Megan’s account could offer different tiers of content – free, basic (subscription), and premium (exclusive tips and videos). Additionally, you can boost earnings through tips and pay-to-view messages.
Top creators on Fanvue are earning over $10k a month. With the right strategy, your AI influencer could start generating passive income while building a loyal following.
Create Your Own AI Influencer
Creating your own AI influencer is a fun and creative way to step into the world of influencer marketing without the usual costs. We’ve walked through the process of choosing a name, generating images with Midjourney, setting up an Instagram account, and even making videos with Runway and Eleven Labs.
As you grow your AI influencer’s presence on Instagram, don’t forget to engage with followers and consistently post new content to keep them interested. And when you’re ready, platforms like Fanvue can help turn your AI influencer into a money-making machine.
Why not give it a try and see where your creativity takes you? With AI, the possibilities are endless, and the future of influencer marketing is in your hands.